There is method in my madness. And no, this post will not be only 5 minutes long to read for most. Sorry.
Backstory #
In December 2024, I attended the 2024 Internet2 Technology Exchange (TechEX) in Boston, MA. I had two proposed talks accepted, and I was asked to be part of a third.
One talk, “More Network Automation Tapas”, was the sequel to the 2023 talk “Network Automation Tapas”. These sessions included a series of lightning talks presented by six different people. This year they allotted us 30 minutes total. That meant each speaker only had five (5) minutes to speak. As the emcee of the session, I had five minutes to rip through both an introduction and my presentation.
My topic: “PKI in 5 Minutes”
Yes yes, I know. How can anyone do justice to the topic of Public Key Infrastructure (PKI) in only 5 minutes? Well for that we just have to wait and see if they post the video from that session.
While the slide deck for that presentation likely will not do it justice, for those so inclined you can find them here in Apple Keynote (which includes all the animations) and PDF formats. I had 40 slides and 5 minutes. You do the math.
(I am a very visual learner, so I tend to put a lot of images with animation/movement in my slides. This year I tried to put notes in the slide decks for those who read them afterwards. But do note that when I present, I do not read them. I simply use the slides to cue up what I will talk about next.)
Why this post? #
While working on another post regarding Nostr, which relies on public/private key pairs, I realized that in my head I relied on the information that I provided in my talk. This is, frankly, how I deal with PKI in my own head for simplicity’s sake.
This topic of PKI is like a building block needed toward understanding. So I thought I would at least try to convey here in written form what I did in my December talk. (If the video from our presentation is ever made available, I may link to that here at some point in the future.)
This is simply my attempt to recreate that presentation in written form. Apologies in advance if the animated GIFs produced from some of my slides do not work quite as well as I hope they did during my December presentation.
Anyway, here goes…
So what IS PKI? #
A public key infrastructure (PKI) is a set of roles, policies, hardware, software and procedures needed to create, manage, distribute, use, store and revoke digital certificates and manage public-key encryption. – https://en.wikipedia.org/wiki/Public_key_infrastructure
BAH! Too complicated! Let’s simplify. #
Pirates! #

Who has ever read a book on or watched a movie about pirates?
What do most of those stories involve? TREASURE!
And to store that treasure, you need… a TREASURE CHEST!
Let’s focus on the treasure chest.

Now for a treasure chest to be useful, it needs a lock.
And that lock requires a key.
Put a key in the lock, turn it, and your treasure is now safe.
Want to get your treasure back? Use that same key to unlock the chest.
With me so far?
Alright, let’s imagine this is a special treasure chest. It requires not ONE (1) but TWO (2) keys. These keys are paired together in a special way.

If you lock the chest with the key on the left, ONLY the key on the right can open it.
If you lock the chest with the key on the right, ONLY the key on the left can open it.
If you understand this, you now understand the fundamental building block of PKI. But let’s continue.

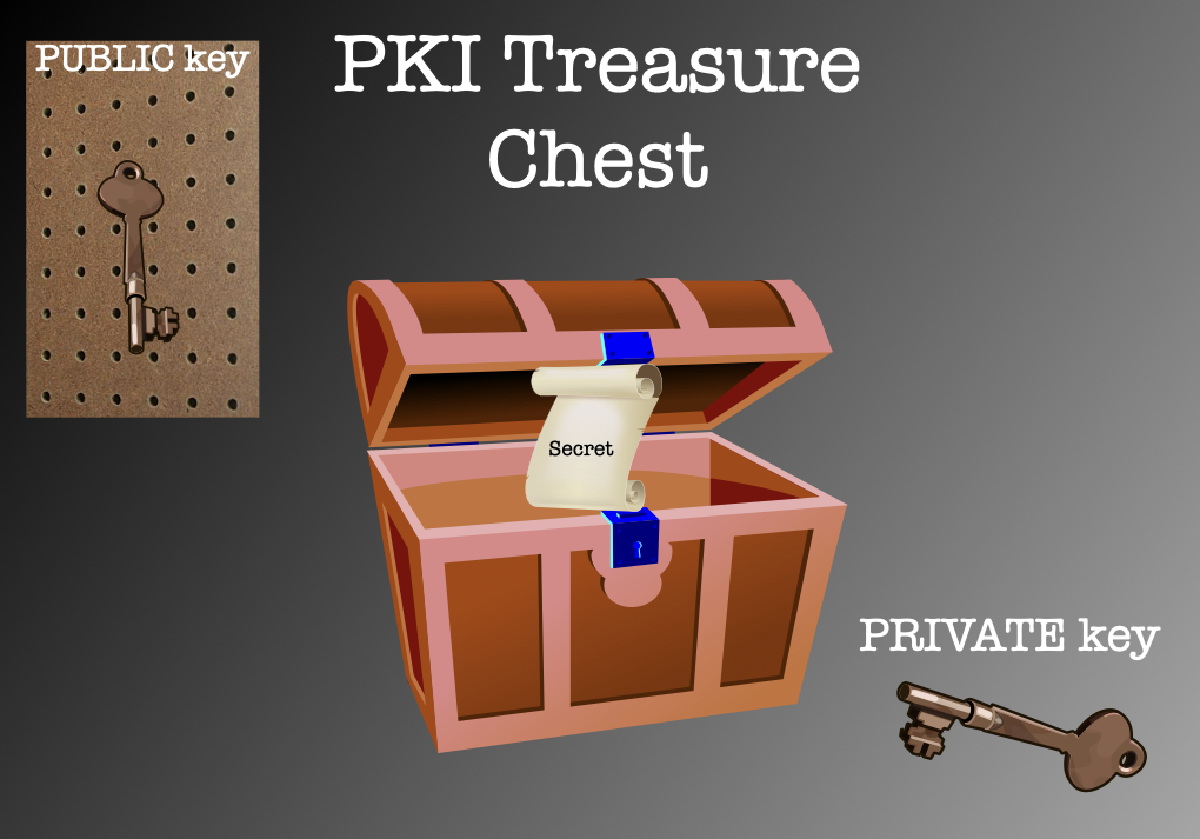
We name these keys the PRIVATE key and the PUBLIC key. Hence the “Public Key” in Public Key Infrastructure (PKI).
The PRIVATE key you keep in your pocket. You never share it or otherwise let others have access to it. Hence “private”.
The PUBLIC key is just that: public. So you put that out in the world where anyone can get to it, like hanging it on a peg board.
Now let’s walk through a basic example.

We have something we wish to protect, some kind of secret. So
- We place it in the treasure chest and we lock it with the PRIVATE key. The secret is now secure and we can send it. And because we locked it with the PRIVATE key, the ONLY key out in the world that can now unlock the chest is the PUBLIC key.
- We send the chest to whoever we wish to get the secret.
- On the other end, they then go to the peg board, take the matching PUBLIC key, and unlock the treasure chest.
So How is This PKI? #
Knowing simply the above, we can now expand this into how PKI works.
Digital Signatures #
Let’s say I want to send you a message. And I want you to be sure that the message came from me and no one else. This is known as a digital signature. So like before…

- I take my message, put it in a treasure chest, and I lock it with my PRIVATE key. This treasure chest is marked as being locked with Frank’s PRIVATE key.
- I then send the chest to you.
- When you get it, you then take my PUBLIC key off the peg board, and you use that to unlock the chest.
You now retrieve the message I sent. And you can be sure that it came from me, because my PUBLIC key unlocked the chest. And the only person who has the matching PRIVATE key is me.
However, this message could be read by anyone since all it takes is access to my PUBLIC key. Which brings us to…
Secure Messages #
So now let’s say I wish to send a message, but I ONLY want Bob to be able to read it. So…

- I take my message, put it in the treasure chest, but THIS time I lock it with Bob’s PUBLIC key. This treasure chest is marked as being locked with Bob’s PUBLIC key.
- I then send it to Bob. If anyone else intercepts it, I know that it is safe, as the ONLY person who can unlock this chest is Bob, since it requires his matching PRIVATE key.
- When Bob gets it and sees how it was locked, he takes out his PRIVATE key and unlocks the chest.
Bob now KNOWS that this message was intended for him and him alone. HOWEVER, it could have been sent to Bob by ANYONE. So that bring us to…
End-to-End (e2e) Encryption #
This time, in order to make sure that Bob knows that it was ME that sent the message, and for me to know that ONLY Bob can read it, I will combine the last two things together. That is,

- First I will put my message into a chest and lock it with my PRIVATE key. This treasure chest is marked as being locked with Frank’s PRIVATE key.
- Next I will place this chest inside ANOTHER chest. Only THIS time I will lock the outside chest with Bob’s PUBLIC key. At this point we have a treasure chest that is marked as being locked with Bob’s PUBLIC key.
- I then send this chest to Bob. Again, it cannot be unlocked by anyone else.
- When Bob receives it, he uses his PRIVATE key to unlock the chest.
- Inside that chest, Bob finds another chest, this one marked as being locked with Frank’s PRIVATE key. So Bob goes over to the public peg board, finds my PUBLIC key, and unlocks that chest using it.
At this point Bob gets my message.
- He knows it was intended for him and only him.
- And he knows that it came from me.
If he wants to reply, he simply follows similar steps, first locking a message with his PRIVATE key, and then locking that in another chest using my PUBLIC key.
At this point, it is turtles all the way down… #
With this basic understanding of the fundamental building block of PKI, you can use this analogy to make sense of almost everything PKI related.
e.g., Certificate Authorities (CAs) #
For example, Certificate Authorities (CAs) are nothing more than an extension of this treasure chest analogy. Certificates (such as SSL/TLS certificates) are just documents which contain information such as Fully Qualified Domain Names (FQDNs), expiration dates, etc. And CAs (such as Verisign and Comodo) are just servers which digitally sign those certificates with their private keys (i.e., place the certificate in a chest and lock with their PRIVATE key), where the CA’s public keys are stored on client devices in a trusted manner (such as a web browser).
I go into further details in my slide deck notes. If interested, please see those.
How is this relevant to network automation? #
When working in network automation, you often find yourself dealing with PKI whether you realize it or not.
SSH (e.g., RSA keys) #
Often automation leverages SSH. SSH makes use of RSA keys, for example, which are nothing more than a public/private key pair. You keep the private key secure, and you put the public key in the ~/.ssh/authorized_keys file of each system you wish to remote into.
If you write Ansible playbooks or use Python/Netmiko, your projects likely involve SSHing into other equipment. If you setup a proper public/private key pair, you can store the public key on all the remote systems that you manage. Then your host system with the private key can SSH to them without having to use a username/password.
HTTPS (e.g., REST APIs) #
Accessed via curl, the Python requests library, etc., HyperText Transfer Protocol (HTTP) is the foundation of the Web. And HTTPS is simply the secure version thereof.
Also, we often make use of REST APIs, whether accessing them on other services or providing them. And REST relies upon HTTP/S, where the secure HTTPS uses SSL/TLS certificates, which again rely on public/private keys.
This is also how browsers work when accessing secure sites. All browsers rely upon a set of stored CA public certificates to determine whether an SSL/TLS certificate was, in fact, digitally signed by a trusted CA.
RPKI #
Used to secure the Internet’s routing infrastructure, particularly BGP, Resource PKI (RPKI) uses… yep, PKI.
In conclusion #
While this is me purely plagiarizing my own presentation (from a session involving network automation) as a blog post, I wrote this both as a precursor to something else I am working on, and just because I genuinely hope that maybe it will help someone have a better understanding of PKI than they had before.
You do not have to understand the math involved in generating the public/private keys in order to understand the fundamental concept. Just as you do not have to have a deep understanding of internal combustion engines in order to drive your car. But hopefully this will help you potentially understand just a little better something you likely are using or may need to use in the future.